Tools
Probo Connect WordPress WooCommerce plugin
Probo bèta launches its first-party WordPress WooCommerce plugin.
Public bèta
Currently, we are public bèta testing our plugin. You can obtain it in the official WordPress plugin directory.
For who?!
The first draft of our plugin focuses on print professionals who sell predefined products with preexisting artwork. We are working hard to integrate our configurator, white-label uploader, delivery date, and shipping methods logic. Please check our roadmap for the features we want to add.
WordPress Playground.
It is possible to test the plugin within a WordPress Playground This will spin up a temporary WordPress installation and install WooCommerce and Probo Connect
Before you begin
Before you begin, please ensure that you meet the following criteria.
- Some basic knowledge of how to work with WordPress and WooCommerce.
- WordPress (5.4+)
- WooCommerce (9+)
- PHP 7.4 or higher
- Ability to manually upload a plug-in via file transfer or via WordPress Admin, or to install a plugin
- Have a Probo API Token.
- Know how to create Probo API Products.
Please note that Probo offers only technical support on the plugin. Probo does not provide setup or installation support, nor does it help with WordPress-related questions. If you have any issues, please uninstall the plugin or reach out to a (local) WordPress agency.
Installtion
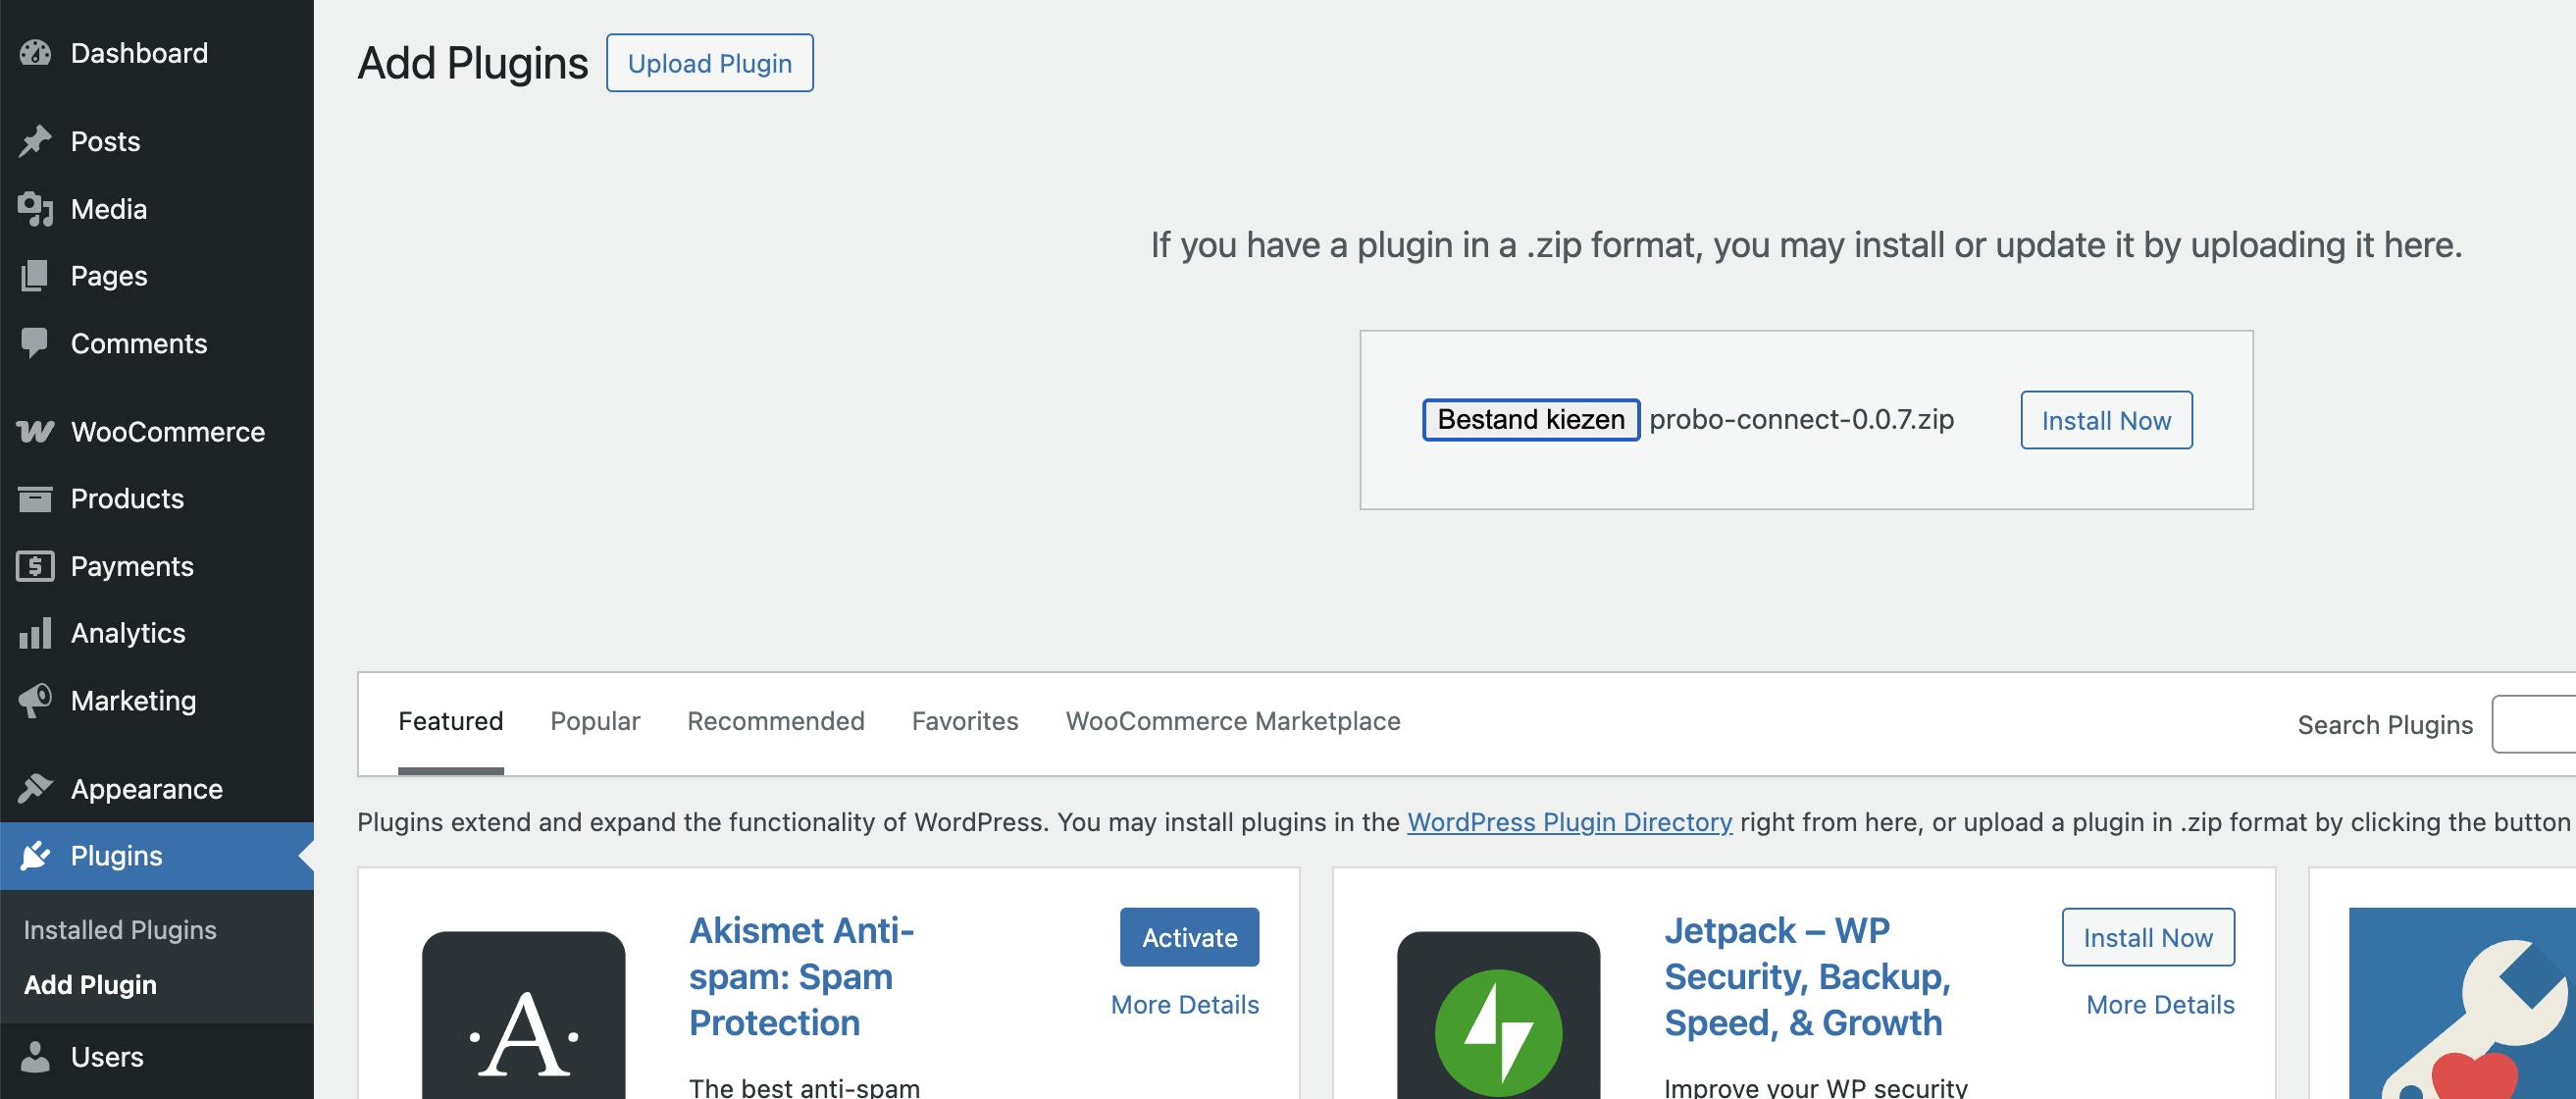
Installation guide via WordPress Admin
- Head over to the Plugins section of your WordPress installation.
- Select Add Plugin
- Select the Upload Plugin in the top right corner
- Select the archived plugin you have received and upload it.
- Push Install now.
Installation guide via WordPress Plugin Directory
- Head over to the Plugins section of your WordPress installation.
- Select Add Plugin
- Select the Upload Plugin in the top right corner
- Select the archived plugin you have received and upload it.
- Push Install now.
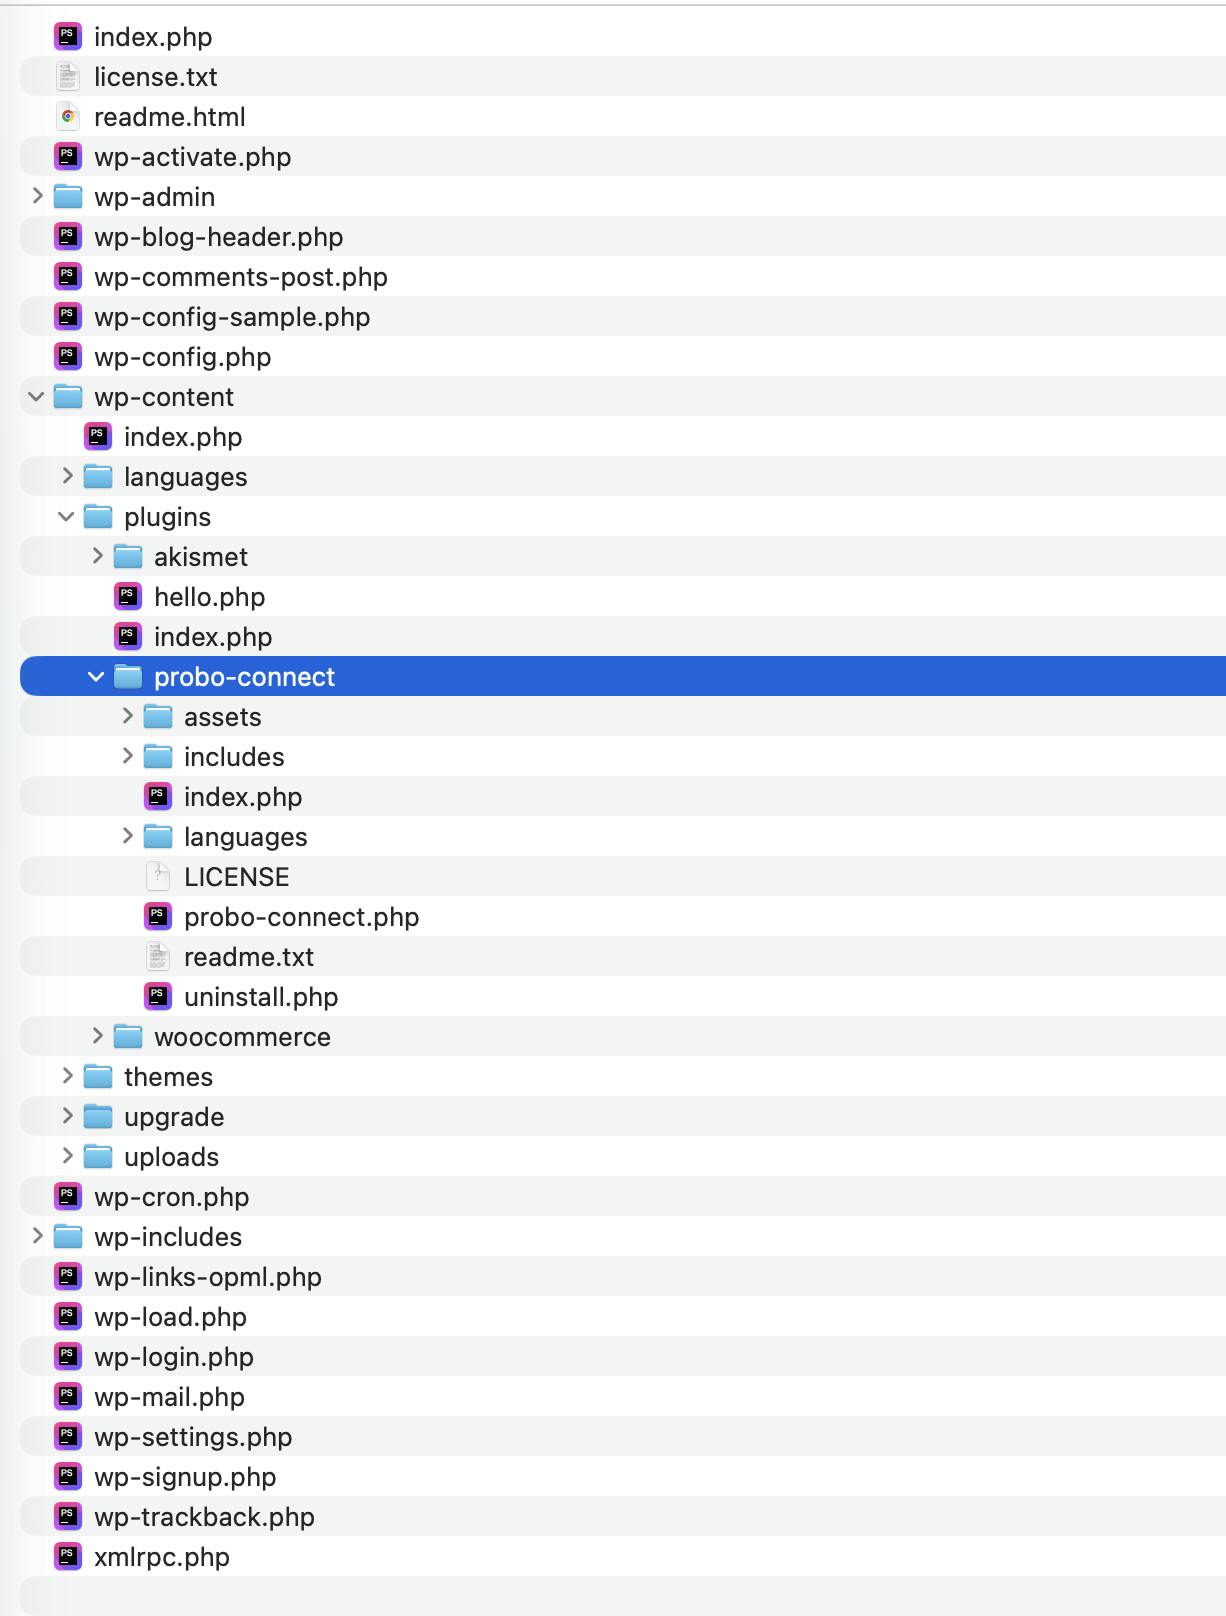
Installation guide via file transfer (FTP/sFTP)
- Open the location of your WordPress store in the tool to manage the file transfers. This can be done via your host or via (s)FTP.
- Navigate to the Directory
wp-content, next go to thepluginsfolder.
- Unzip the archived plugin you have received
- Uploads its content into the plugins folder. The files should be in a directory probo-connect
Setup
Activation
After the plugin is uploaded, head over to the plugins section to activate the probo-connect, if this is not already activated.
Configuration
Next, the plugin needs to be configured. To do so, open the settings for the plugin.
You can access the configuration via the plugins section and select settings, or head over to the WooCommerce settings and select the Probo Settings tab.
- First, add your Probo API token in the API token field, and store the settings.
- Secondly, it is recommended to start with the Sandbox mode. You can test the API, and the orders you push will be canceled automatically.
If you want to receive the error mails on a different email address than the admin account's email address, then you should change it here.
Configuring a product
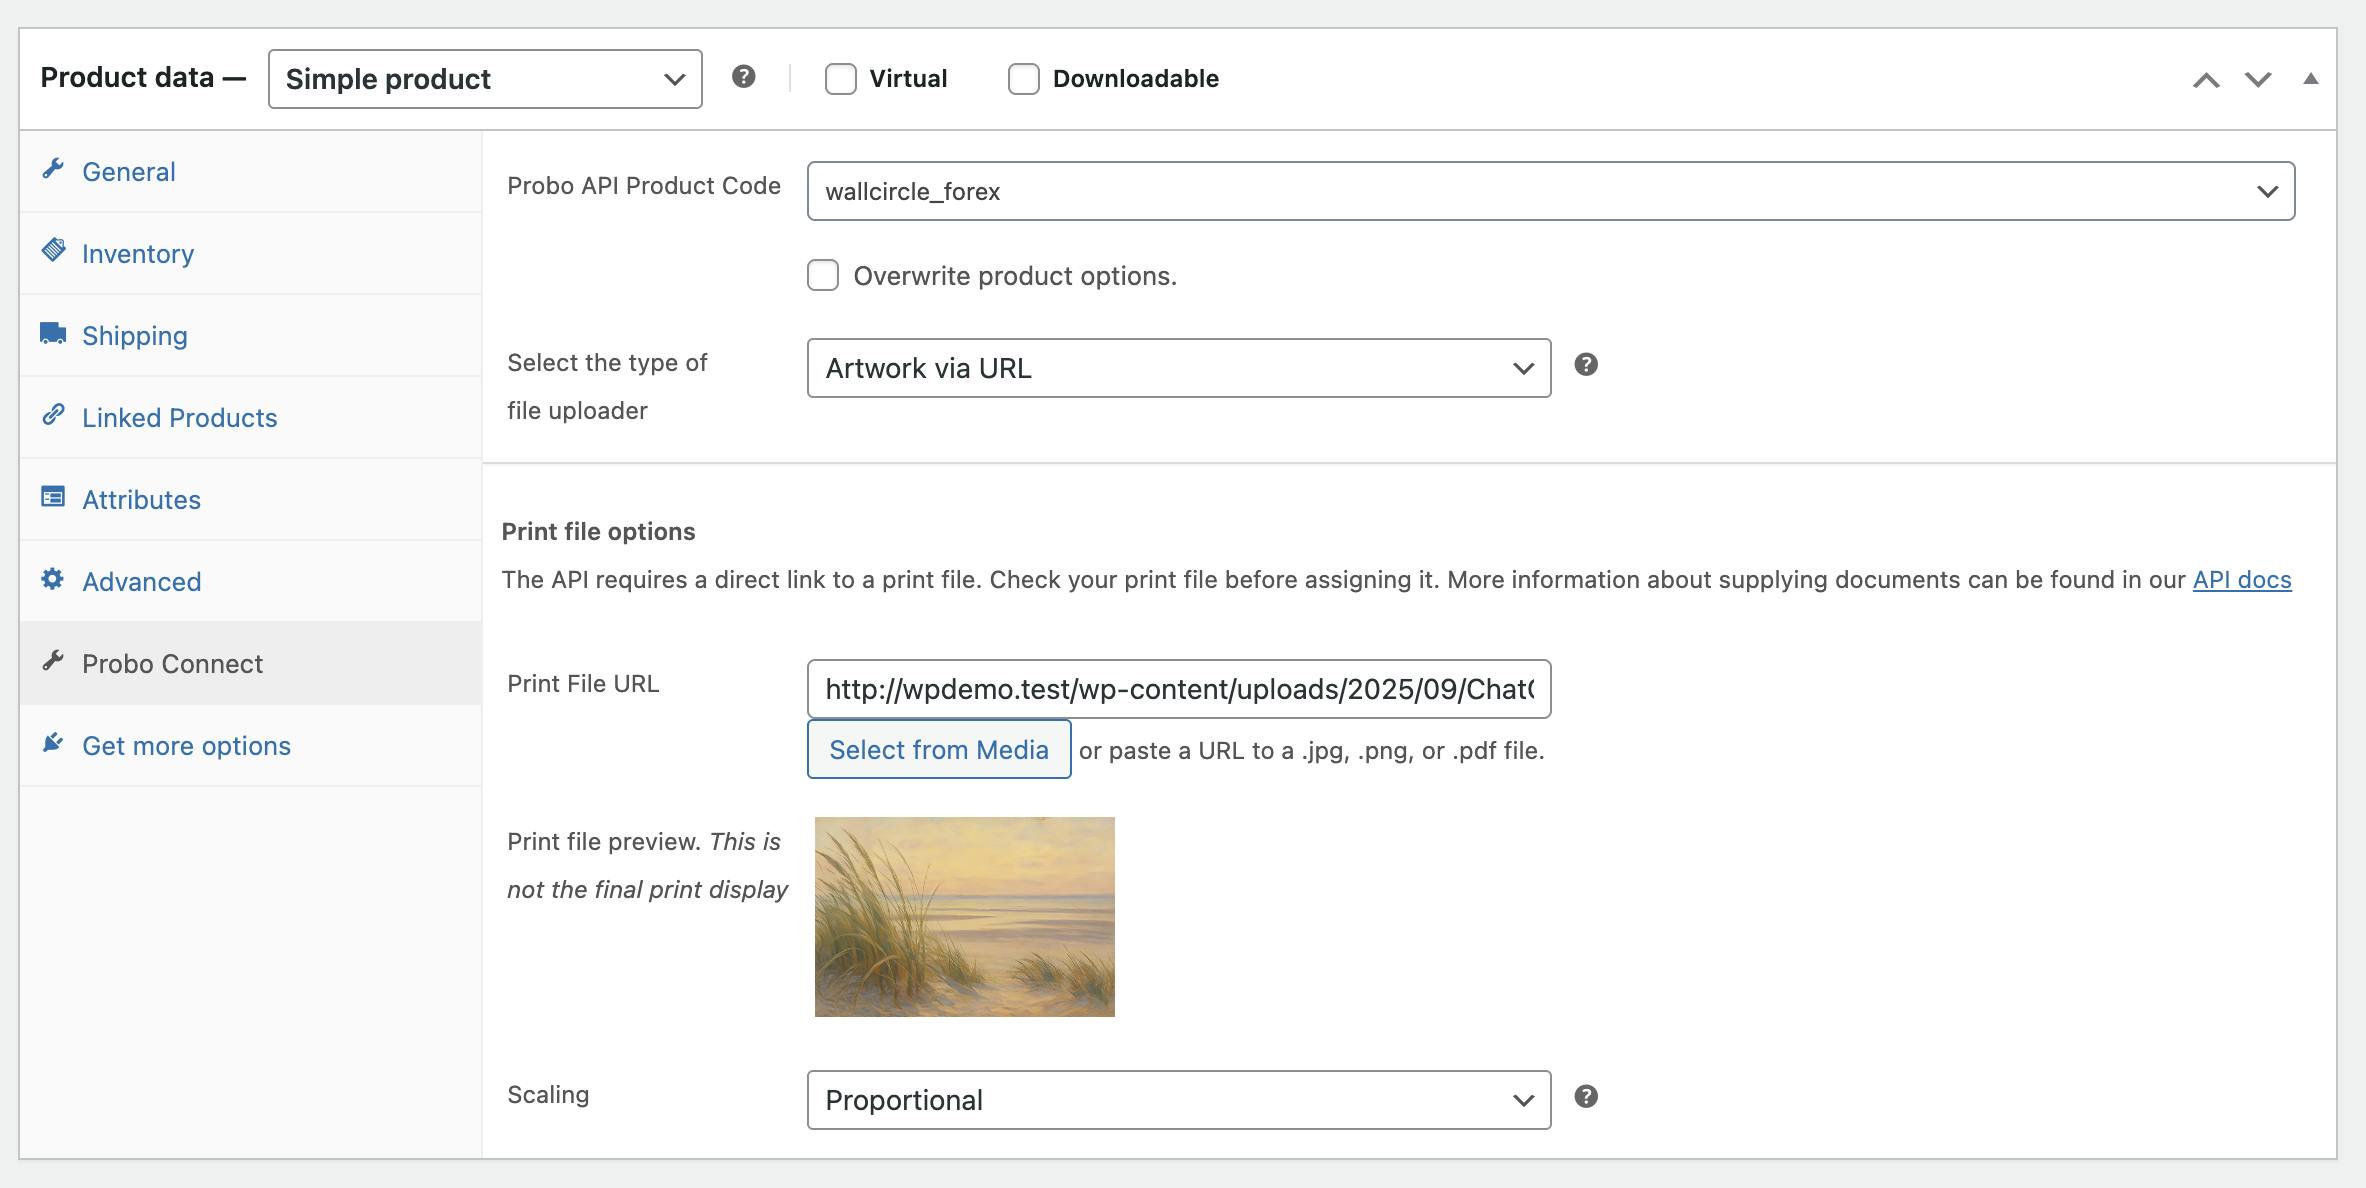
In the WordPress admin, open or create a new product. Head over to the Probo Connect tab.
- First, select the Probo API Product Code you want to use for this product.
- Next, select the type of file uploader. Most commonly, it would be the Artwork via URL. Please note that it is possible to add your own uploader logic via the hooks. Contact if you want to know more.
- Select the production file you want to attach to the product. You can select a file from your WordPress Media Directory or use an external storage like Dropbox.
- Finally, you can set some additional file options.
Save the product, and it is ready!
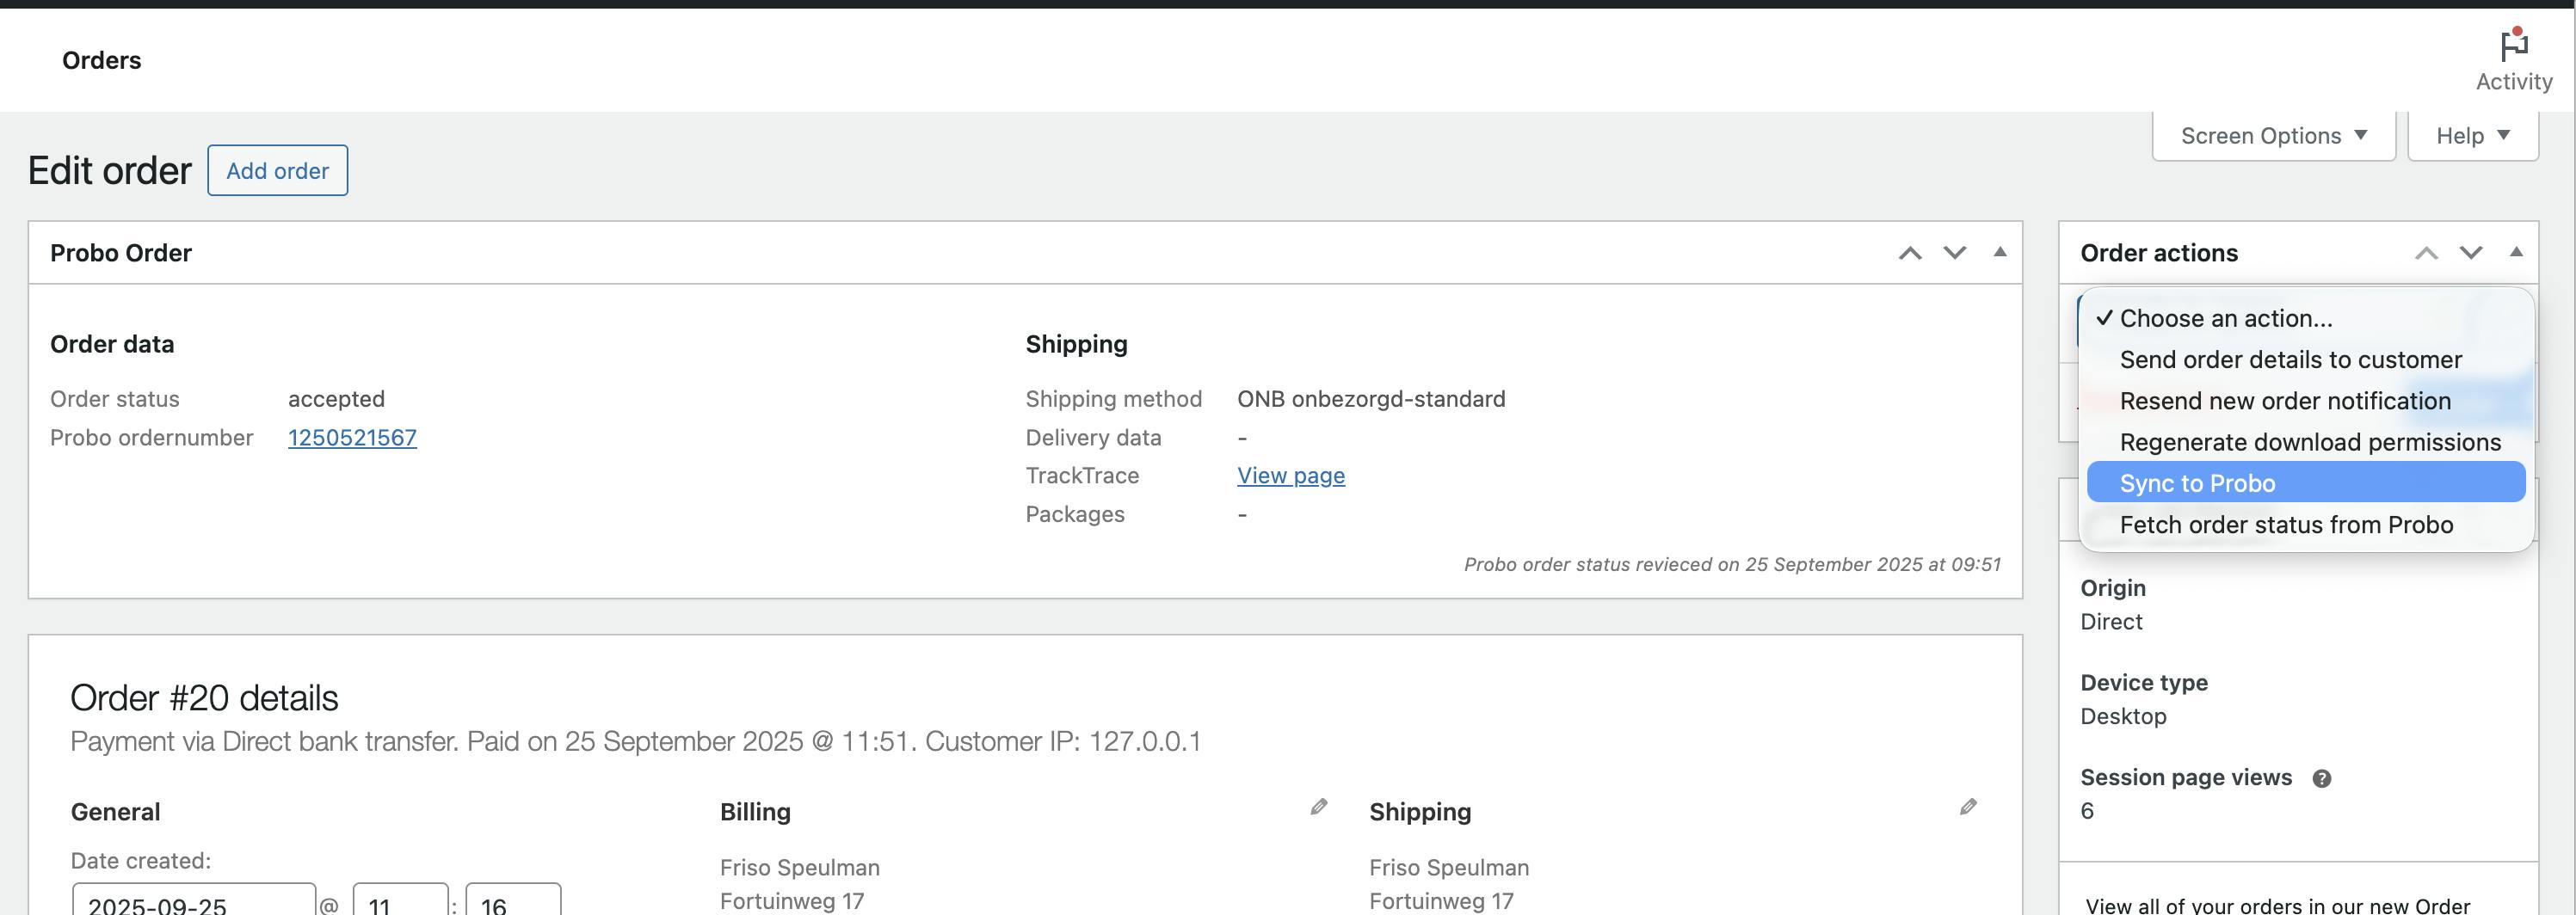
Pushing an order
You can push orders using the order action "Synchronize to Probo". When executing, the Order is pushed to Probo. Momentarily, orders are not pushed automatically to Probo.
After pushing, the Probo Order panel will be updated. Every time an order update is available from Probo, this will be pushed to your shop, and the status is updated. If you want to check for new updates your selfs, you can use the Fetch order status from Probo action.
Roadmap
We are continuously improving our plugin. Please check out the roadmap. If you have any suggestions, please don't hesitate to contact us.
Added
- Since 0.0.8: Variant management for API products
- Since 0.0.9: Ability to ship to yourself.
Next
- Fully configurable products via the Probo Configurator
- Integration with Probo uploader
Later
- Probo Shipping Methods and rush pricing in the checkout process
- Bulk Import
- Price synchronisation for api products